Creating a Node Lesson
The Node Lesson helps students practice structured question-and-answer dialogues.
It is designed to evaluate grammar, vocabulary, fluency, and coherence while guiding students through realistic conversational activities.
To learn more about how the Node Room works, see Node Room Overview.
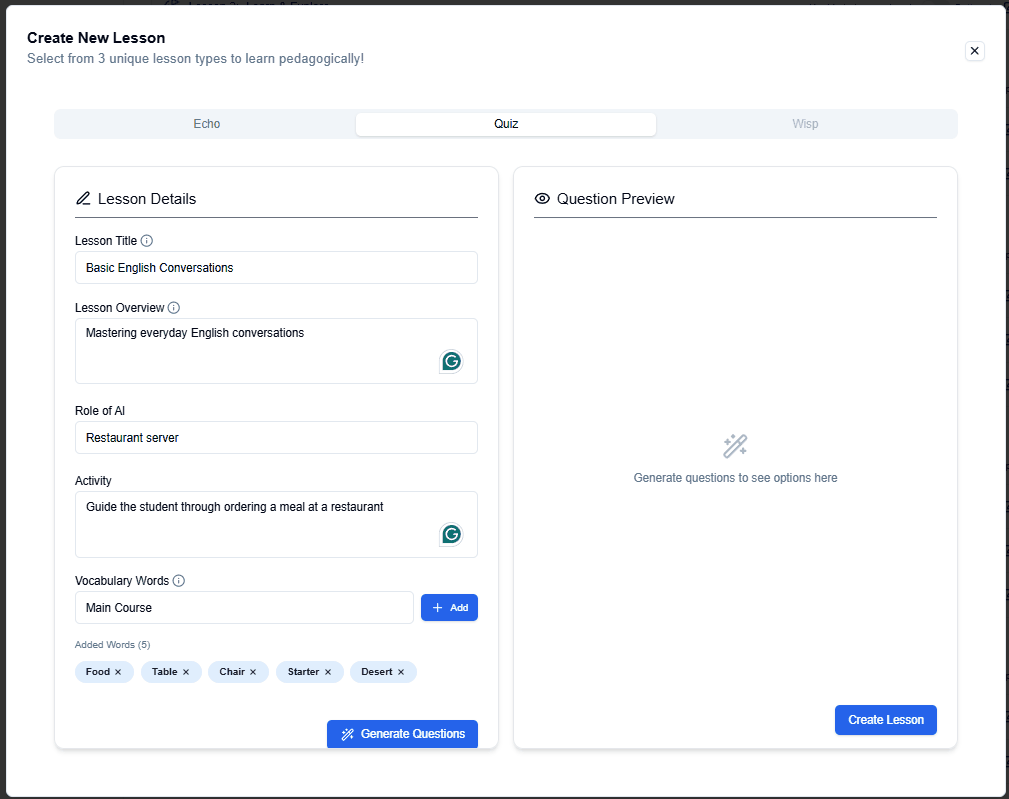
Step 1: Fill in Lesson Details
In the Lesson Details panel (left side):
- Lesson Title – Enter a descriptive name for the lesson (e.g., Spanish Vocabulary Assessment).
- Lesson Overview – Provide a short description of what the student will learn (e.g., Mastering everyday Spanish conversations).
- Role of AI – Define the AI’s role in the conversation (e.g., Restaurant server).
- Activity – Write a short description of the interaction (e.g., Guide the student through ordering a meal at a restaurant).
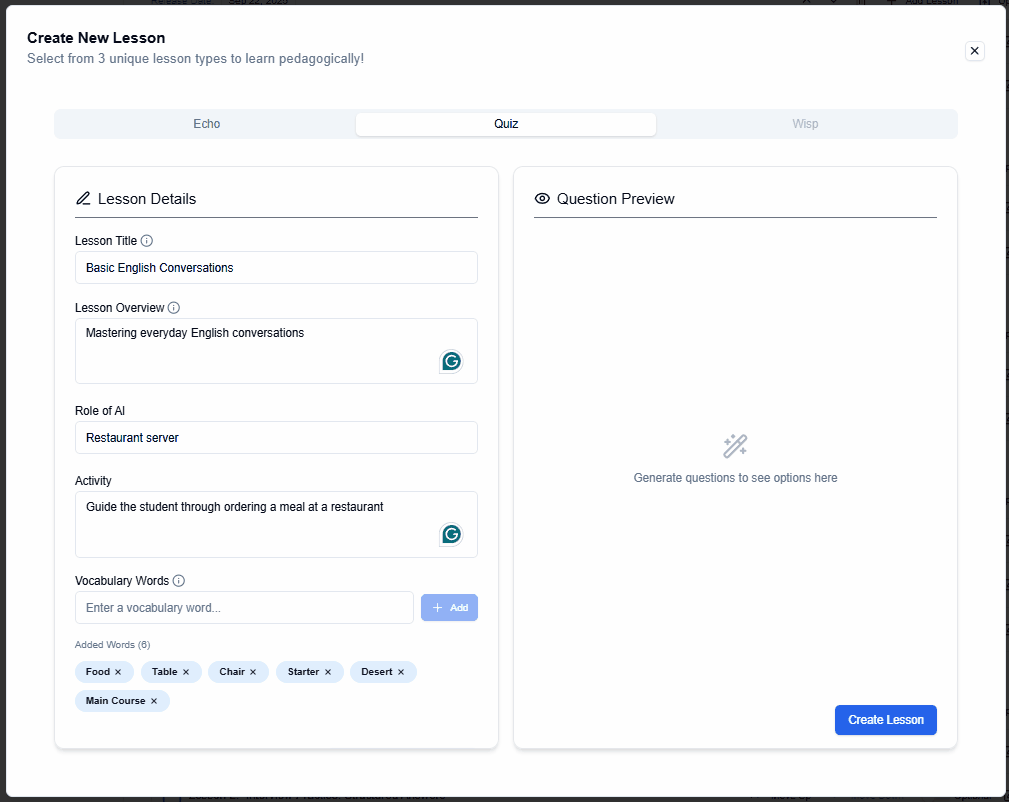
- Vocabulary Words – Add relevant vocabulary words that the AI will use in its prompts.
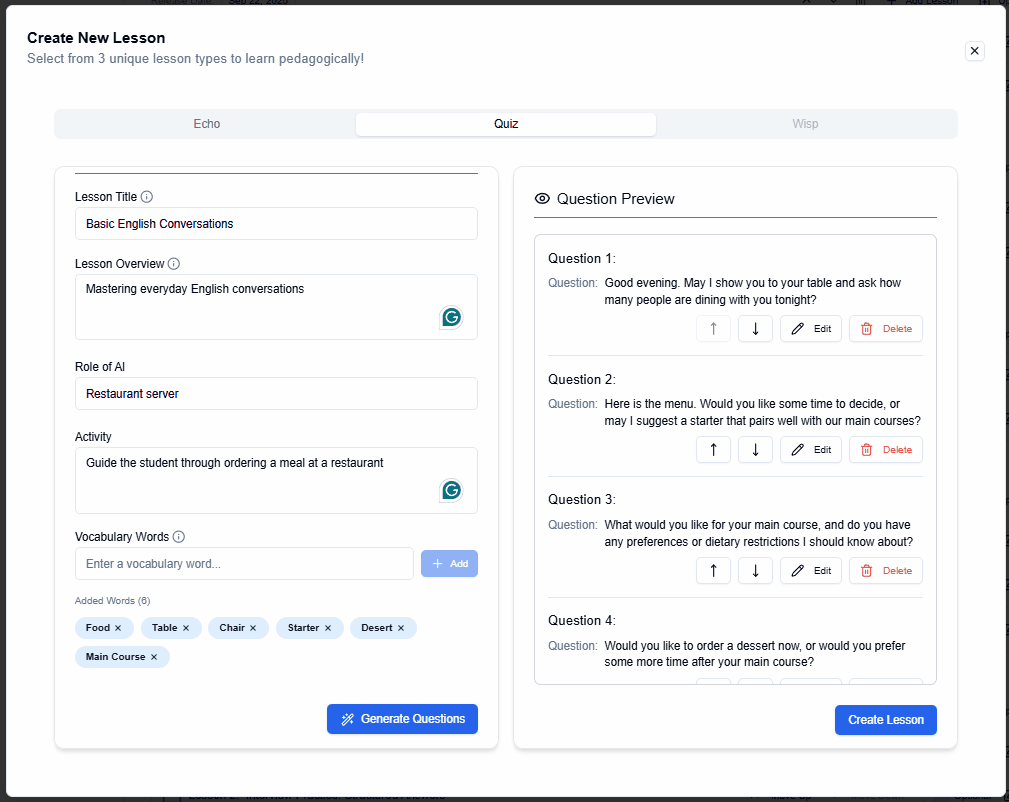
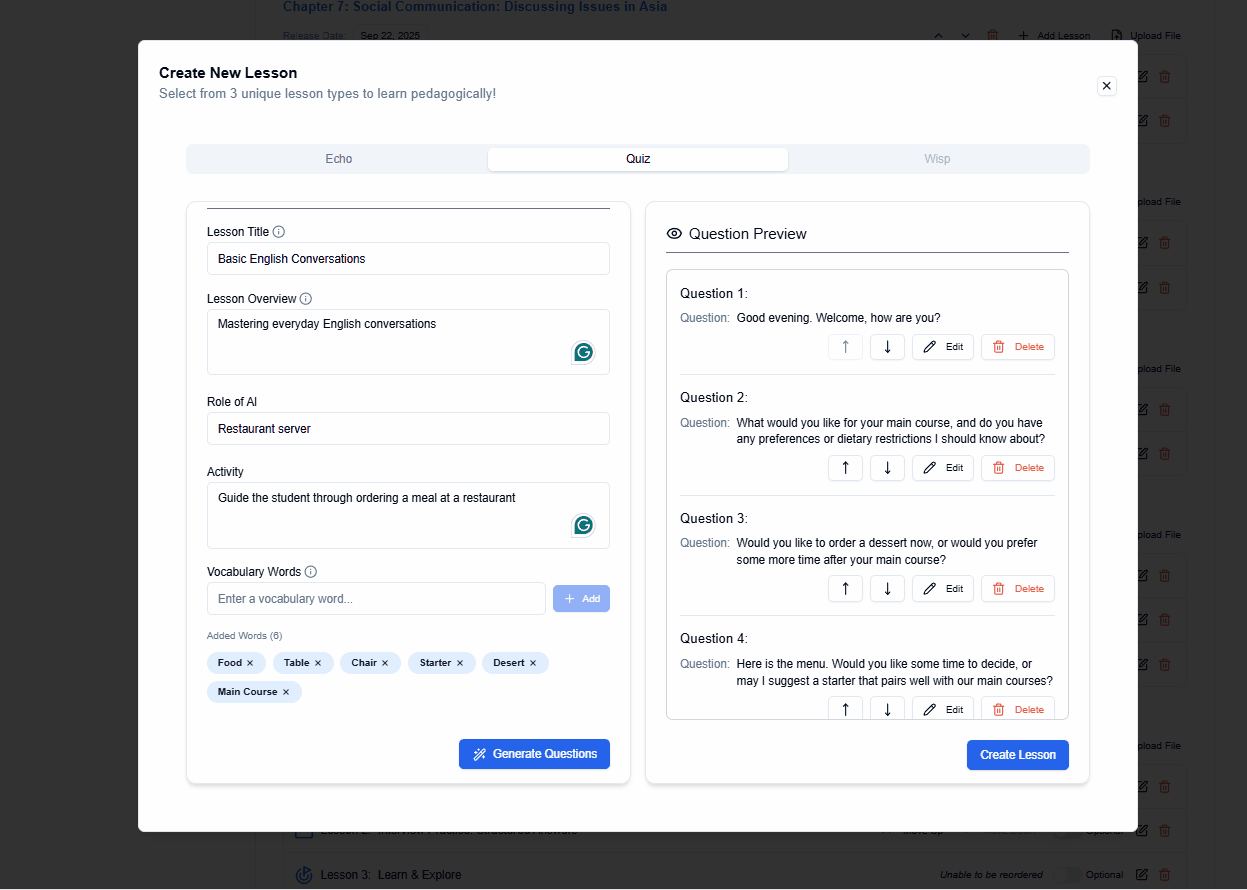
Step 2: Generate Questions
- After entering the details, click Generate Questions.
- The system will automatically create practice questions based on your inputs.
- Questions will appear in the Question Preview panel (right side).
Step 3: Edit the Questions (if needed)
- You can edit, reorder, or delete any generated questions if they are not suitable.
- Once satisfied with the set of questions, click Save to confirm your changes.
Step 4: Save Your Lesson
- Once satisfied with the questions, click Create Lesson.
- Your Node Lesson will now appear in the chapter’s learning plan.
Step 5: Edit Lesson
- If you would like to make changes or edit the lesson, click on the Edit Lesson button.
Step 6: Delete Lesson
- If you would like to delete the lesson, click on the Delete Lesson button.
Next Step
After creating your Node Lesson, you can continue adding Echo or Wisp lessons to complete the chapter and scaffold learning.