Creating Your First Course
The Course Creation feature allows you to design structured learning pathways for your students.
Three Stages of Course Creation
Creating a course in EasyConvo involves three main stages:
-
Defining Overall Course Information
- Add the course title and image for identification.
- Choose the CEFR level to customise the evalautions.
-
Creating the Learning Plan
- Add chapters and organize them into lessons (Echo, Node, Wisp).
- Set release dates and lesson sequences to scaffold learning.
-
Confirming and Saving Information
- Review the course details and curriculum setup.
- Make adjustments if necessary.
Getting Started
To create your first course:
- Go to the Courses tab.
- Click on Create New Course.
You will be brought to the Course Creation Page.

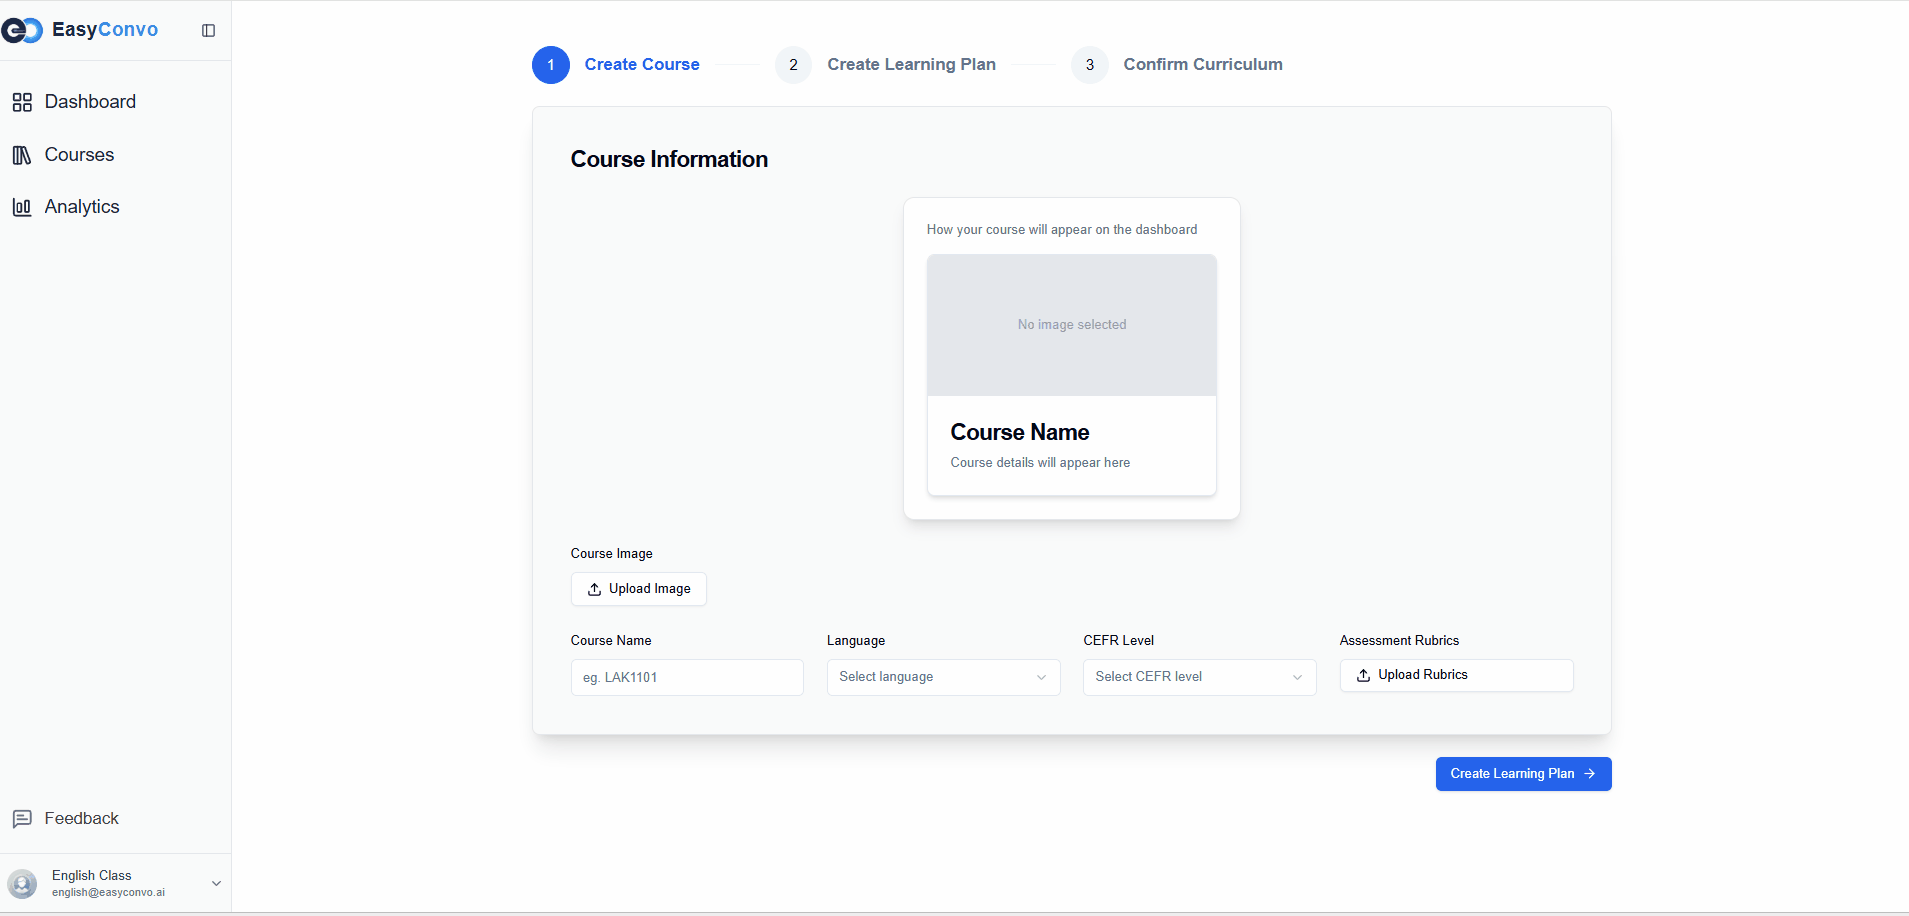
Course Creation Page
On this page, you’ll see the following fields and options:
- Image Uploader – Upload an image to visually identify your course.
- Course Name – Enter the name of your course (e.g., English for Beginners, Business English).
- Language – Select the language from our list of Language.
- CEFR Level – Choose the appropriate CEFR level (A1–C2).
- Rubrics Upload – (Optional) Upload your own rubrics.
- By default, this can be left empty.
- Custom rubrics give you control over scoring criteria used during evaluation.
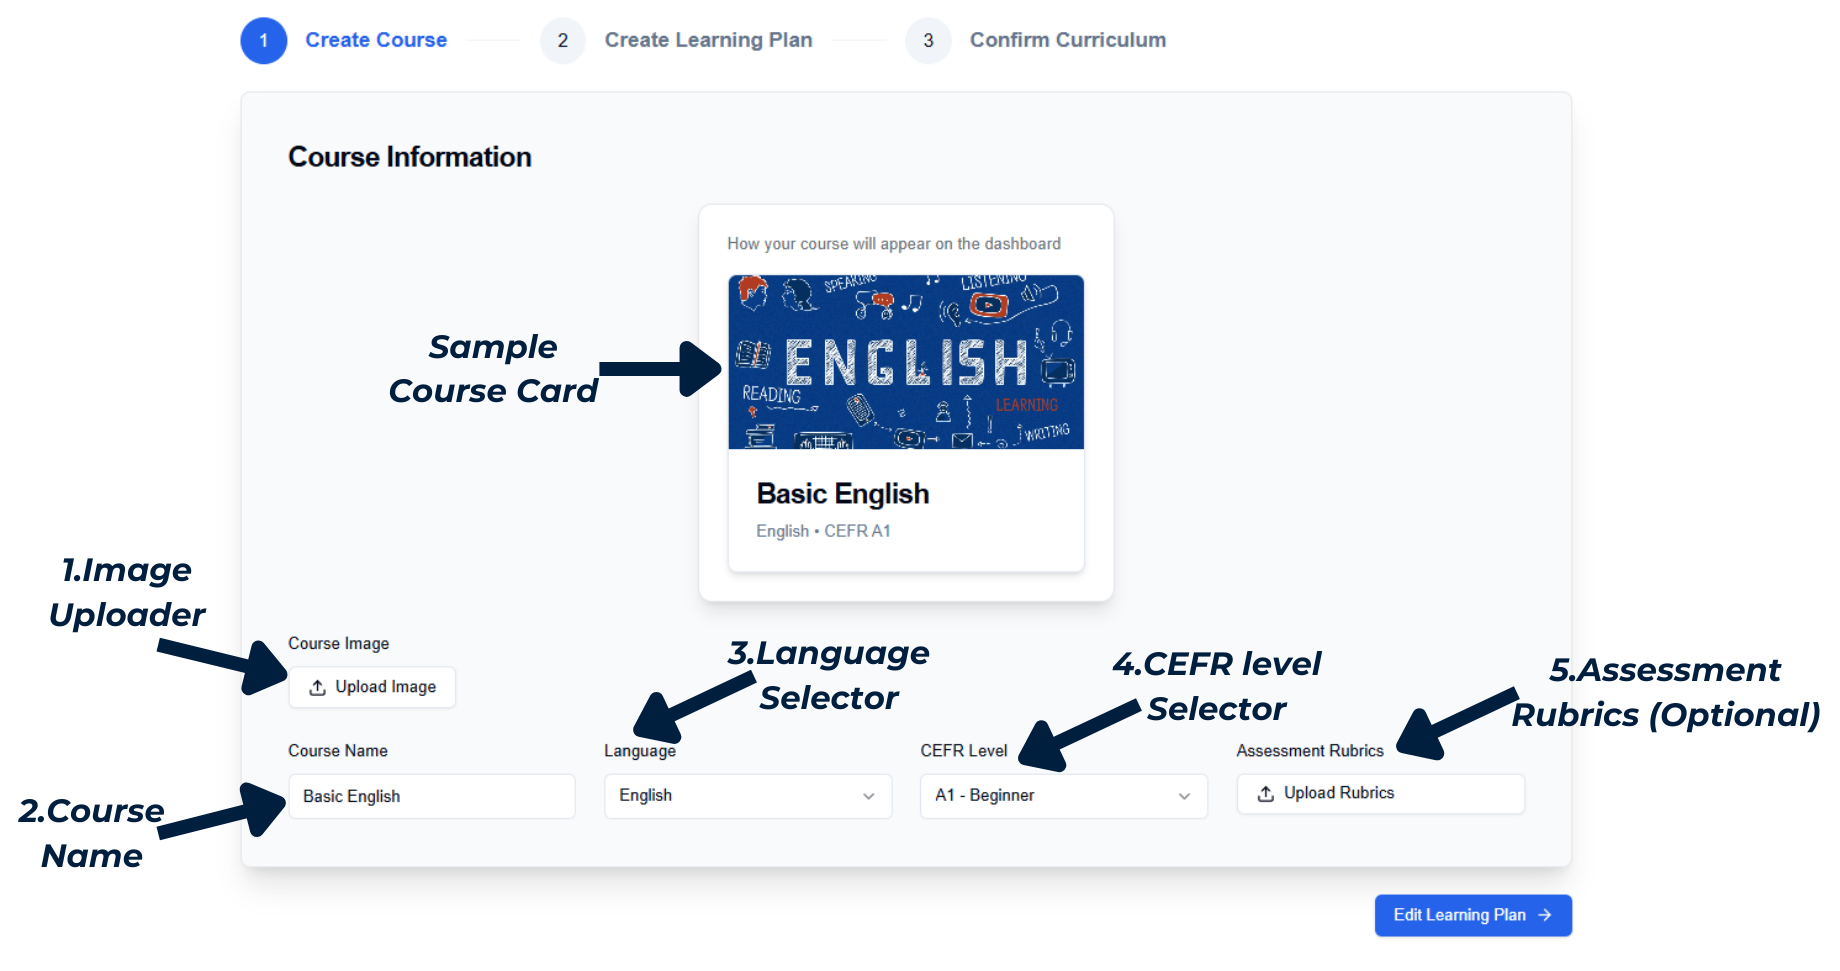
Fill up these fields and once you have you’ve completed the course details, click Create Learning Plan.
From there, you’ll be guided to define your curriculum, including chapters and lessons.